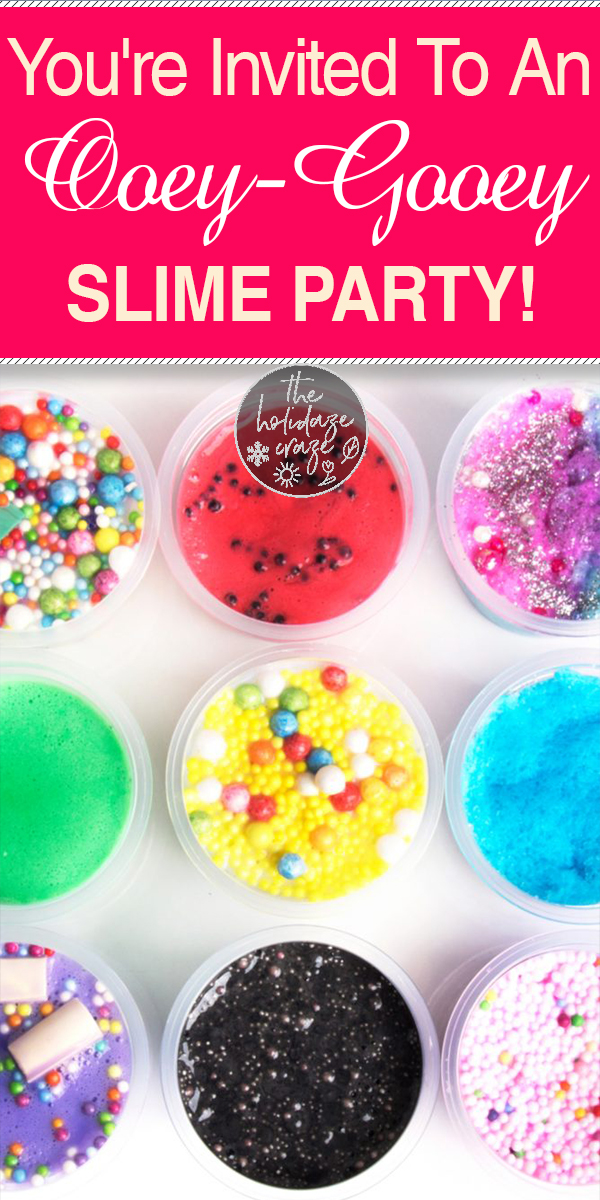
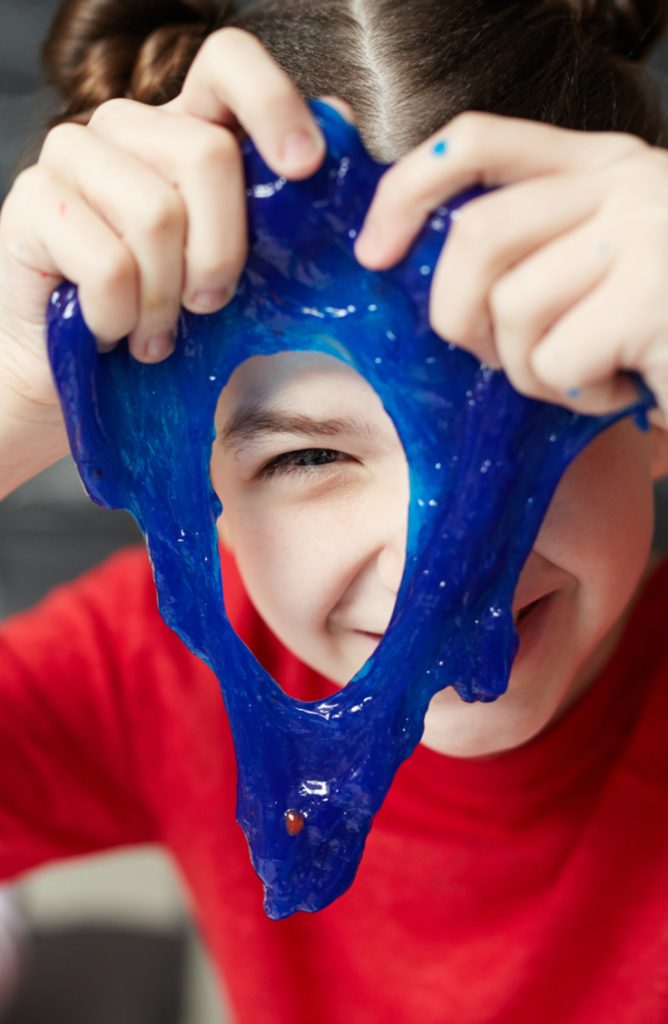
If you’ve got kids under the age of 18 (and possibly 30), then chances are you’ve heard about how amazing slime is. My little ones come home from school on a regular basis with slime that friends have made and given to them. My 65 year old mother decided to make Easter extra festive with the addition of different slimes and mix-ins at our Easter Egg hunt this year. So slime, it’s kinda a big deal. Which means that if you’re trying to figure out what kind of party to throw this year, slime is your answer. How does someone throw a slime party you ask? Well I’m here to show you!
Must-Have 01: SLIME
This seems like a no-brainer, but really, you’ve got to have slime. If your party includes older kids and you’re up for the adventure, you can have them make slime at the party. If you’re not quiet sure you’re ready for that level of commitment, then I’d suggest making the slime base beforehand and giving them things to mix in at the party. Below are a few recipes to help you make some basic slimes.
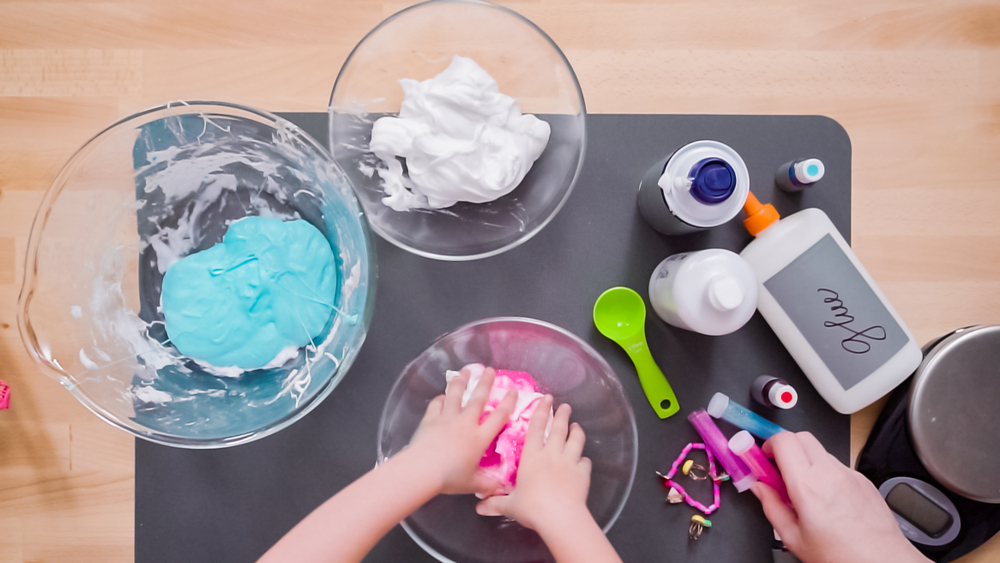
Basic Slime
Ingredients:
- 2 bottles of Elmer’s glue (clear, glitter glue, or white)
- 1/2-1 tsp. of Borax
- 1 c. hot water, 1/2 c. water
- a large, wide bowl
- food coloring (optional)
Process:
Here’s the deal, making slime can totally go wrong. Really easily in fact, because you’re dealing with some pretty detailed chemistry. So it’s important to read the directions carefully and make sure you’ve got what you need before starting.
Begin by taking a big bowl and mixing one cup of hot water with 1/2 tsp. of borax and mix until it dissolves completely. Allow the mixture to cool while you go on to the next step.
In a glass measuring bowl like this one, mix one container of Elmer’s glue with 1/2 c. of water with a whisk until you have an even consistency. This is really important. If you want to add in color, here is where you do it.
Next, slowly pour the glue mixture into your borax mixture a little at a time and mixing until you get the whole thing to polymerize. You can mix with your hands (bare of gloved) or a spoon.
When you see it start to slimeify, start kneading. You want to knead for a few minutes until it’s no longer sticky or chunky. Then you can add confetti or other mix-ins.
If making slime isn’t your thing, you can totally purchase pre-made slime here or here and forgo the whole chemical-lab-in-your-kitchen thing.
Must-Have 02: Mix-ins!
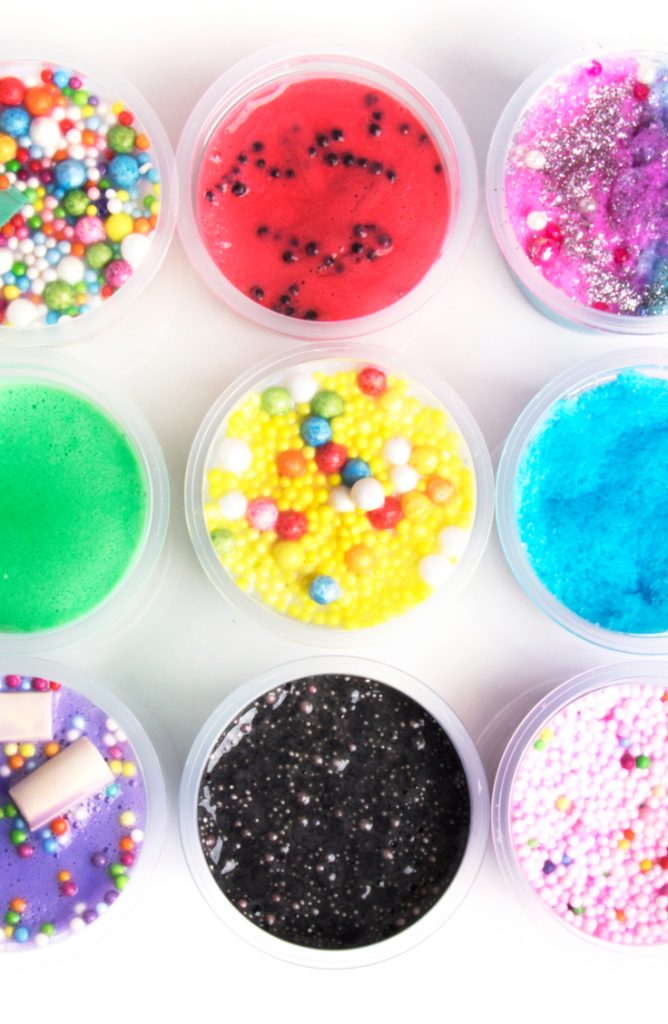
If you’ve got slime, you really do have to have things to mix in! This includes everything from glitter to beads to confetti. You can totally troll your local Dollar store for supplies, or you can purchase a 70pcs kit here that has all you need and more!
Must-Have 03: Containers
If you’re going to have a slime party, you really do need some way for the slime to leave your house that’s not a plastic baggy. Don’t get me wrong, you can totally use those in a pinch, but it’s better to have some containers to…well…contain the slime. These work great and aren’t too expensive.
Must-Have 04: Slime Themed Snacks
If you’re having a slime party, you really do need slime snacks. These don’t have to be gooey and gross, but think about the colors and textures of slime as inspiration. Below are some suggestions!
Slime Cupcakes!
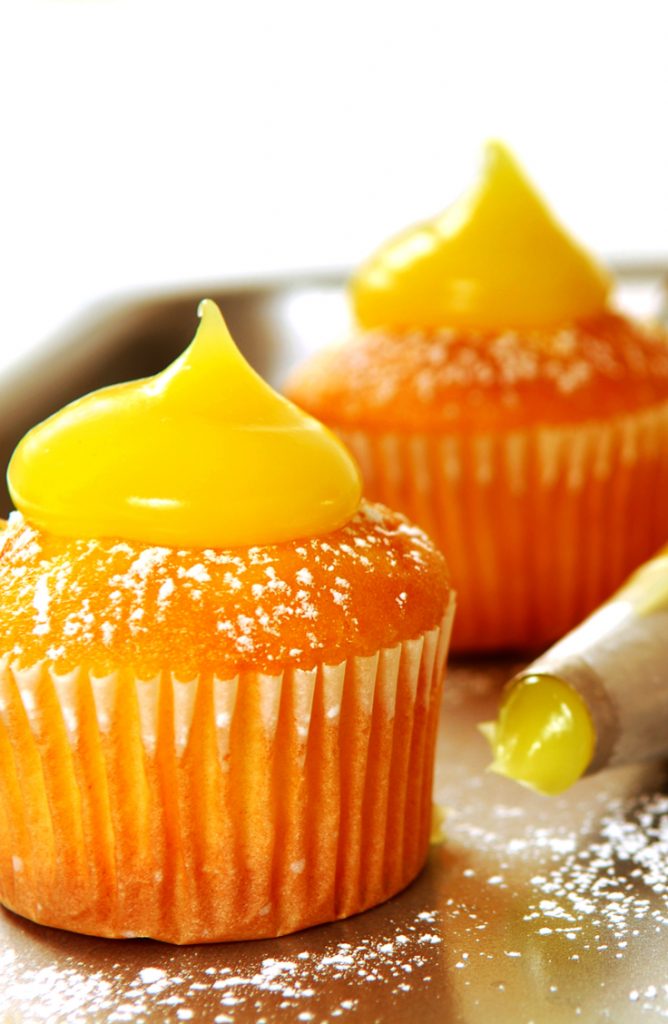
No, these aren’t cupcakes with slime in them, nor do they have gel filling. Instead, these cupcakes are filled with lemon curd! Now, you could totally do whatever fruity curd you like-just take it and run with it. Start by making the cupcake recipe of your choosing, and a nice buttercream. While the cupcakes are cooling, make your curd using the recipe below. When the cupcakes have cooled, fill them with the curd and top with buttercream. Now you have a slime filled cupcake that’s going to give a burst of flavor and a little surprise to your guests!
Basic Curd Recipe
- 1 lb. granulated sugar
- 4 lightly beaten eggs
- 6 oz. butter
- 3 large limes, lemons, or oranges
Process:
Begin by zesting and squeezing your citrus. You want a decent amount of both to help flavor your curd. Then, using a double broiler (a pyrex dish on a boiling pot of water works great) you are going to melt the butter. When the butter is melted, add in the sugar, citrus zest, and juice and whisk that baby until it’s nice and smooth. You want to bring the curd to a nice and soft simmer-NOT A BOIL or you’ll scramble the eggs-before you add in the whisked eggs. Mix constantly until the mixture starts to thicken. You want to use a medium-high heat, nothing more or you’ll scramble your eggs and end up with yuck.
Continue to cook until the curd starts to stick to the back of a wooden spoon but is nice and thick. Ideally this takes about ten minutes. When the curd is ready, transfer to an airtight container and refrigerate for at least an hour. Then it’s ready to put in a piping bag and fill!
Candy Coated Popcorn
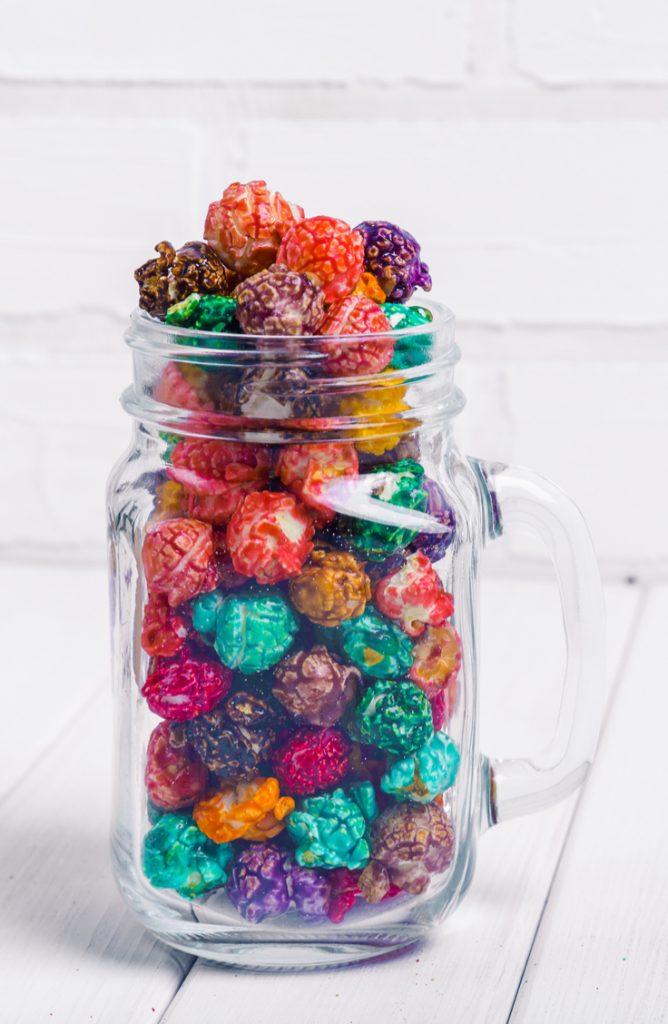
Ingredients:
- 4 qts popped corn
- 1 1/2 c. granulated sugar
- 1/2 c. light corn syrup
- 2 Tbsp. butter
- 1/2 tsp. salt
- 1/4 tsp. cream of tartar
- 1 tsp. baking soda
- 1 tsp. gourmet flavoring (find a bunch here)
- 1 tsp. liquid food coloring (match your flavor, or don’t!)
Process:
Start by popping your popcorn if you haven’t. The key to a good candy coated popcorn is keeping the popped corn warm in an oven set to 200F. Then you’re going to combine the sugar, corn syrup, butter, salt, and cream of tartar in a medium sized saucepan. Next, bring the whole thing to a boil while stirring constantly. You want to cook the mixture to 250F (use a candy thermometer).
When your mixture has reached 250F, remove it from the heat and wait for the boiling to stop. When it stops, add in your food coloring and flavors and whisk until combined. Now it gets tough! Add the baking soda and whisk quickly. You’re going to pour the foamy mixture over your popcorn and stir it gently to coat. You can either shape into balls or leave on the pan and break into pieces.
Must-Have 05: Invites and Decor!
I’ll be honest, this is a pretty time-intensive party. So for this I’d suggest heading over to BigDotofHappiness and choosing some decor and invites that go along with your little one. Not only will they be easy to coordinate, but they are darling and not overly expensive.
That’s it folks! Have a great slime party!


Leave a Reply