If you’re throwing a party in the near future, you should really consider adding a balloon arch to your decorations! Balloon arches can be traditional (think entry into your high school gym for Prom), but as of late they have been going through a renaissance of sort and have become something new and incredible.
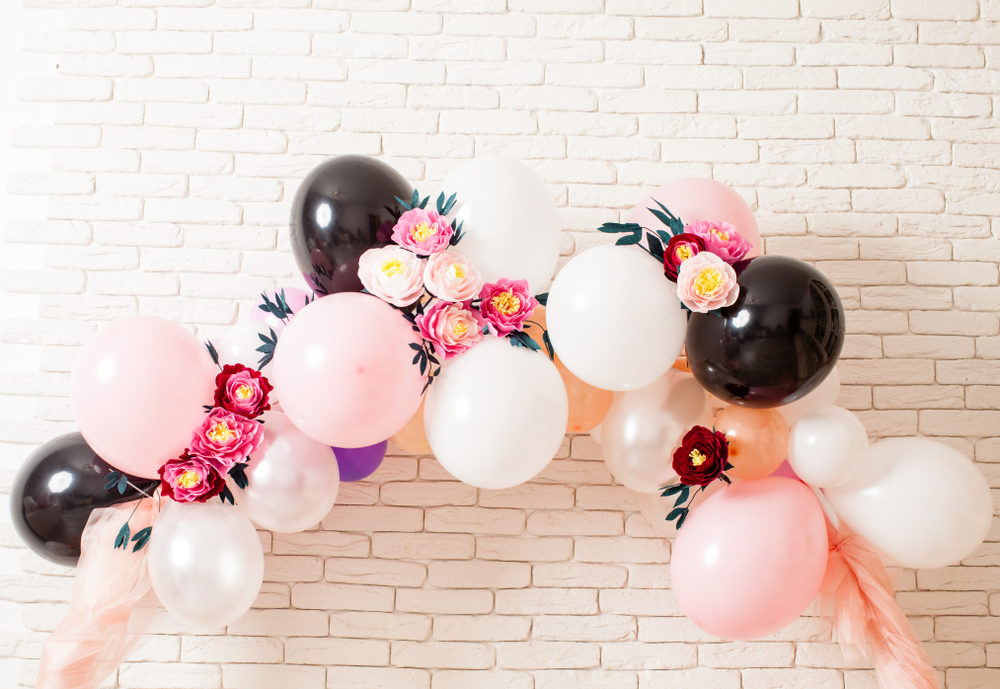
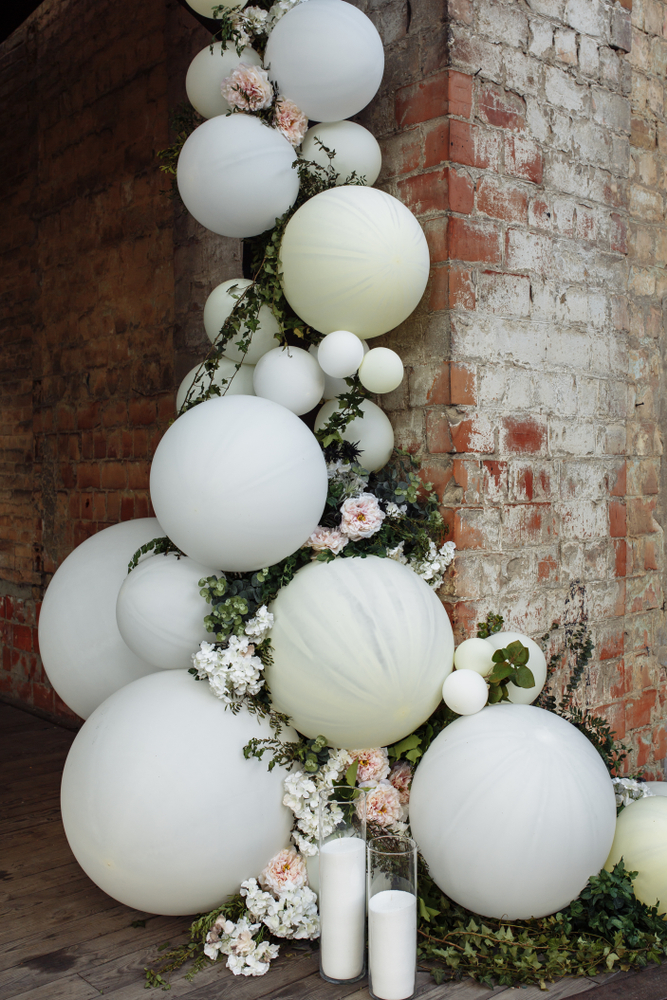
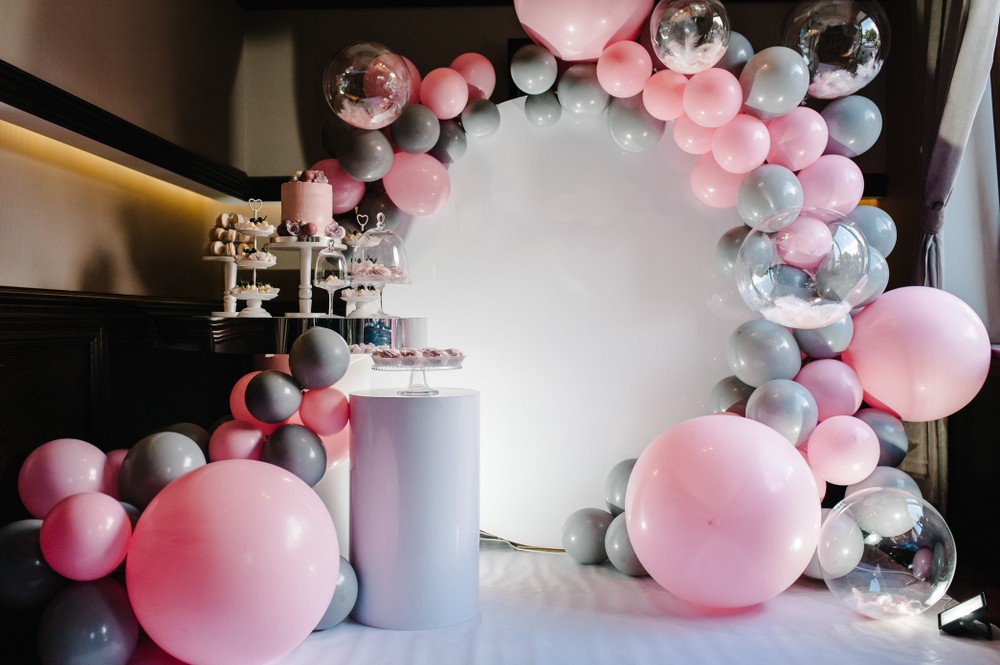
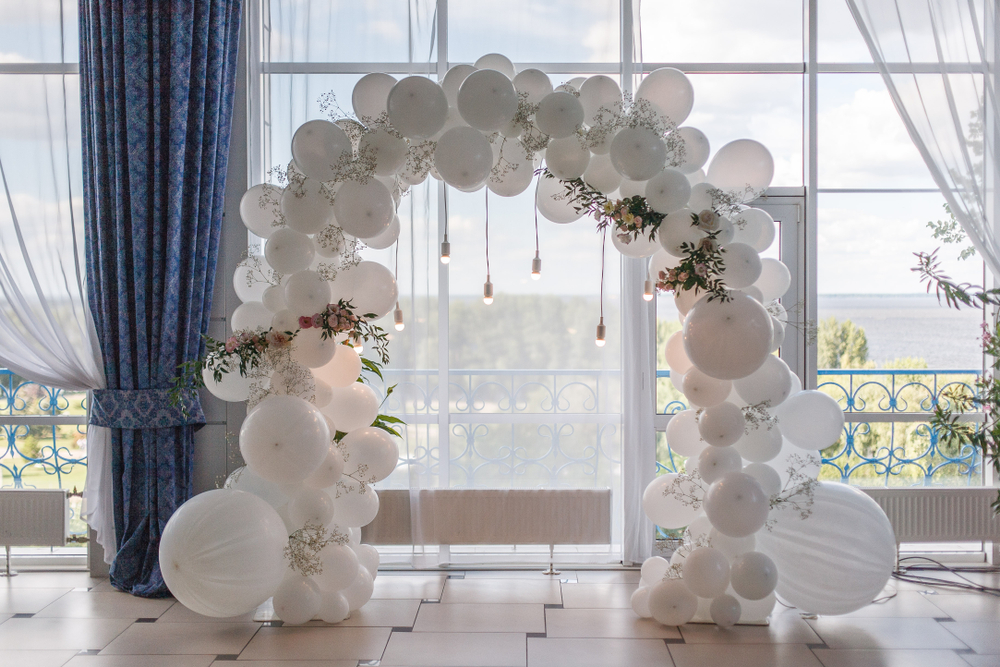
Notice how the designs above aren’t uniform, symmetrical, or even arches in the strict sense of the word. All of them use balloons to create depth, movement, and add a little bit more to whatever venue they’re made for. So, how do you incorporate this design trend into your next party? Let me show you!
How To Make A Balloon Arch
Step 1: Design
Begin by sketching out what type of shape you’re looking for. Is it an arch? A loop? Is it part of a photo backdrop or table decoration? How long does the line need to be for the garland/arch? Once you design your shape, it’s time to move to step 2.
Step 2: Gather Supplies
Begin by gathering materials: Scissors, Flowers and Foliage *this adds texture and depth, Low-temperature glue gun, Balloons (about 90)*choose varying colors, textures, and sizes that will go with your color scheme (if you are doing an arch, you will want to have at least 60 balloons filled with helium), blunt tapestry needle and fishing line, command hooks (for a garland), weights (for an arch).
Step 3: Blow Them Up

First, blow up the balloons! Enlist the littles and the neighbors. I’d suggest having 90-100 balloons of varying sizes blown up for your arch or garland. You will want large balloons that are filled completely, but you’re also going to want some smaller ones to help hide holes and add variety. I’d set 5-10 small balloons aside for this task.
Step 4: Thread It
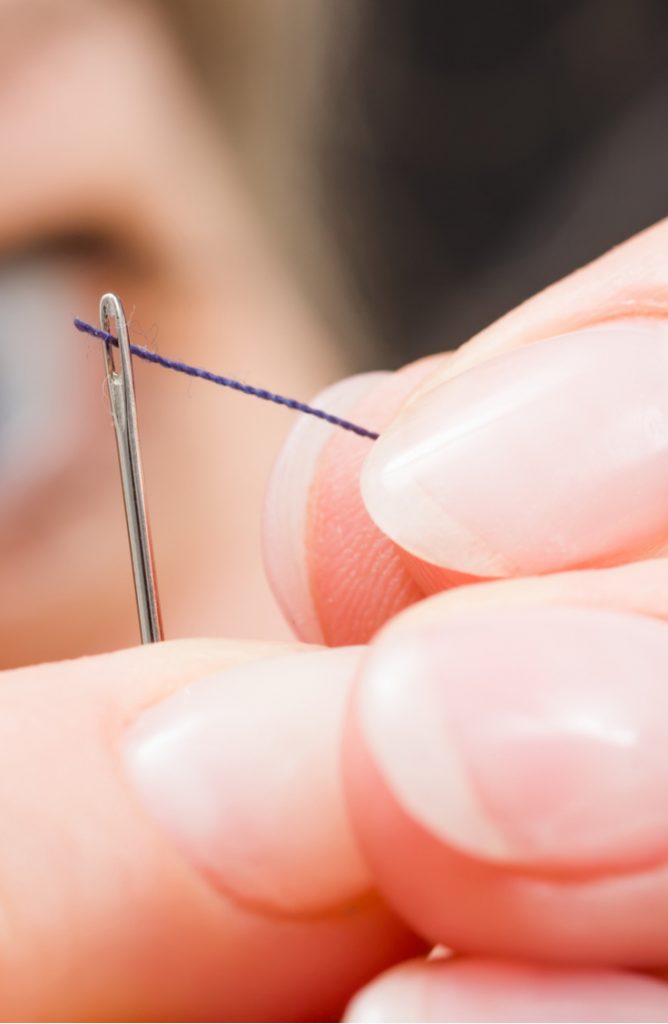
Then thread your needle with the fishing line and knot the end tight! You’re not sewing per se, you’re going to be threading the fishing line through the ends of the balloons. This means that it’s important that your knot hold, otherwise your arch or garland can fall apart.
Step 5: String It
Begin threading your needle and fishing line through the knot on the balloons in the order that you designed them. Then pay attention to colors, sizes, etc. as you thread so that you’re creating variety as you go. Don’t worry about holes or places that you can see through, you can fix those in just a minute. Continue to thread your balloons and slide them down, one at a time, to the bottom of your fishing line. If you’re doing an archway, it’s important to make sure you’re using the helium balloons evenly, I’d say about every other balloon. They will provide the lift for the arch.
Step 6: Try It On For Size
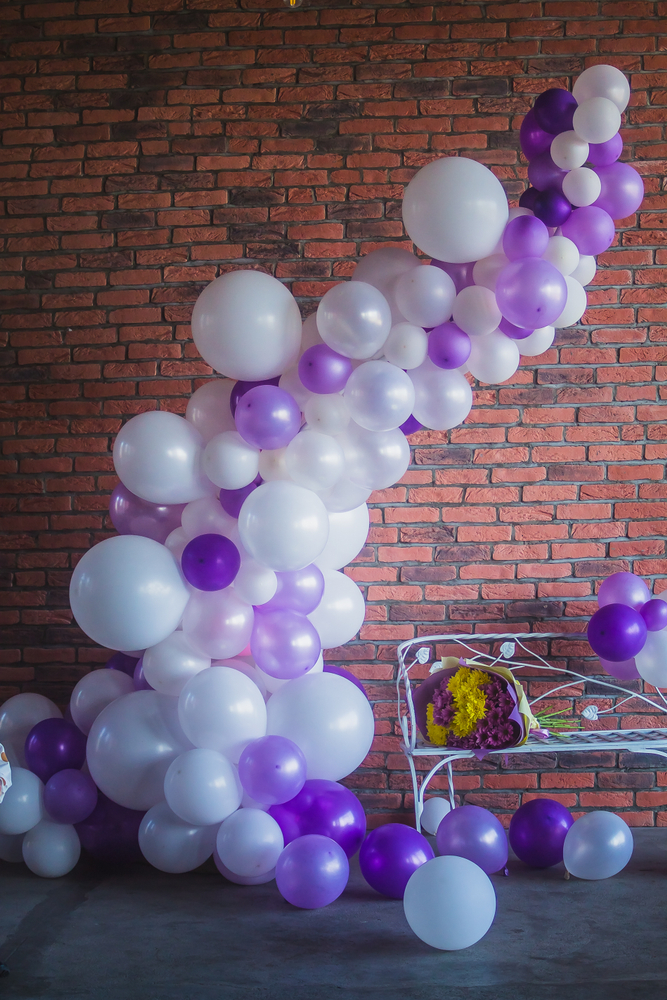
After you’ve threaded most of your balloons (except for those little ones), it’s time to see how it fits. If you’re doing an arch, do a visual check to make sure the arch is tall enough. Simply have someone hold one end of the balloons, and you hold the opposite. Bring the ends to the ground and space them apart. Add more balloons to add height or width.
If you’re creating a garland, lay out the frame of the garland using the command hooks. I’d suggest spacing them a few feet apart. Then gently line up your garland with your hooks and see how you’re doing. This will allow you to see if you need to add more balloons or do any re-balancing.
Truth be told, I really like creating balloon garlands in pieces, that way they are a little easier to get on the hooks. The pieces can all be on the same string, simply give a few inches of space between every 20 balloons or so.
Step 7: Final Touches
Once you have your balloons on your string, and it’s the right length/height, it’s time to decorate. If you’re making an arch, tie both ends to your balloon weights and allow the arch to stand. If you’re doing a garland, tie off the end of the fishing line using a knot and make sure it’s secure. When it’s secure, go ahead and hook it on to the hooks you set up.
Now it’s time to add the final touches to your design! Where there are holes or where you need to add variety or break it up, you’re going to use your low-temp glue gun and glue the little balloons in place. Even though the glue gun is low temp, I’d be very careful letting the metal tip touch the balloons because it could still pop them. Instead, try letting a drop of glue fall onto the balloon, then sticking it where it needs to go.
Next, add in some fresh (or fake) flowers and foliage. This is what really takes your arch or garland up a level! By adding in flowers and foliage, you’re adding in texture and variety that will make your arch more than just balloons-it becomes art.
Step 8: Enjoy!
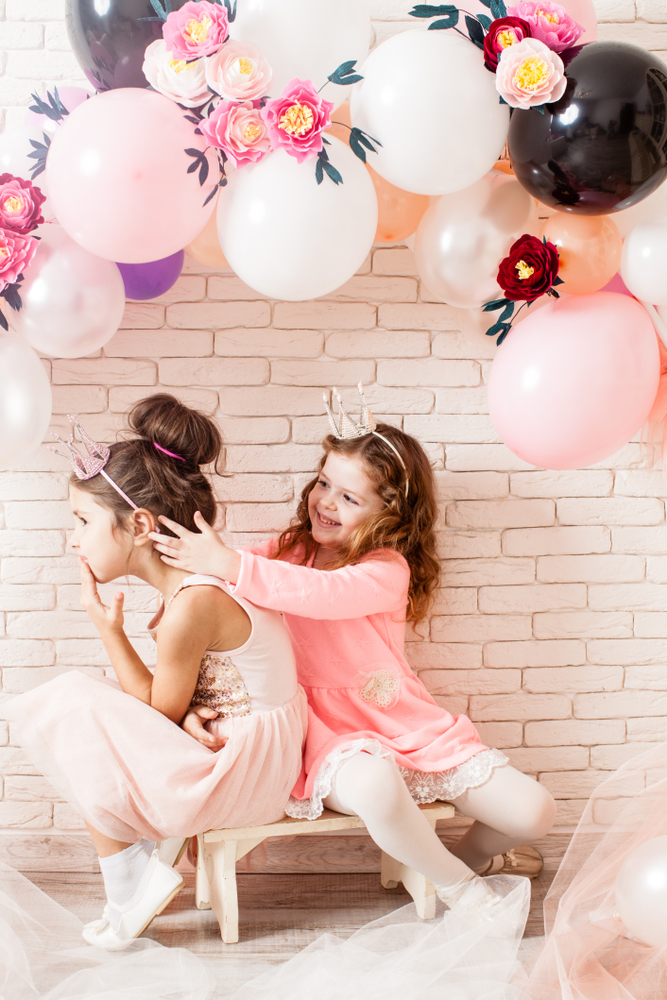
Now it’s time to relax and enjoy your beautiful balloon arch! Go you!


Leave a Reply