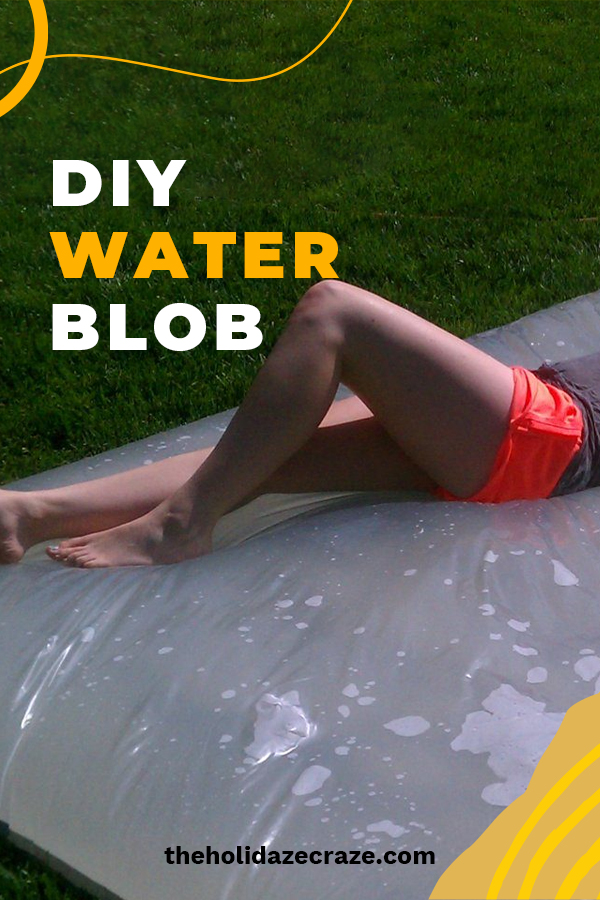
A few years ago I saw a post on a blog all about how to make a gigantic outdoor waterbed or “DIY water blob”, and I knew that we had to give it a try. So I went out and got the materials, followed the tutorial, and created “The Blob Father” for one of our 4th of July parties. It was a hit! The little kids bounced and played for hours, and when it was time to watch fireworks, we all cooled off together under the stars. The best part? It was cheap, easy to make, and easy to clean up.
Fast forward a few years, a few more kids, and a few more parties, and I knew it was time for “The Blob Father” to make a return. We’ve had a rather hot and dry July, which makes for hot and cranky party people. Enter “The Blob Father” to solve our problems! It’s fairly water conscious because you fill it up once, and it’s a great way to cool off without getting wet. This time I decided to document the process. So, the next time you need to add a level of cool fun to your party, you should create your very own DIY water blob!
DIY Water Blob
Materials
- Painter’s Plastic: the thicker, the more durable
- Duct Tape: regular or fancy-you decide!
- Coloring: you can use food coloring or these super cool bath tablets
- Scissors
- If desired: bath toys, sponges, glitter, etc. to put inside
Step 1
Start by choosing your size. I ended up cutting the painter’s plastic in half this time because the sheet we got was HUGE. Once you’ve got your size figured out, fold the sheet in half and line up the edges.
Step 2
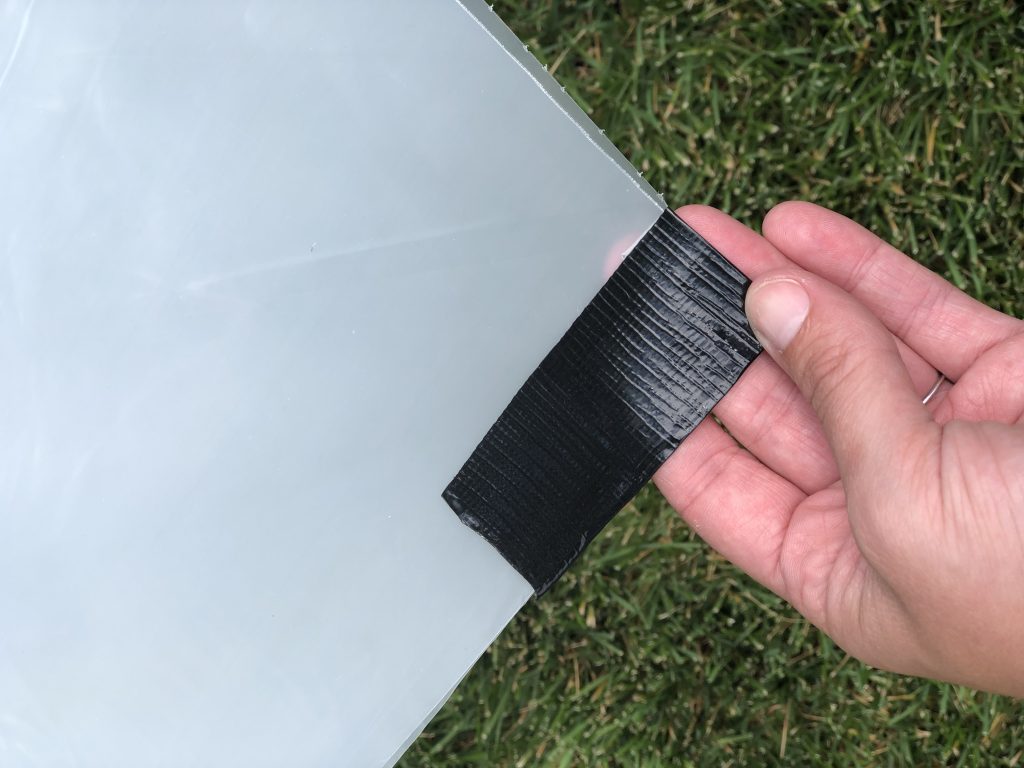
Next, tape the corners together so that they don’t wiggle as you go. Begin by matching the corners, then placing the tape overlapping the edges so that you can fold it over and stick it to the other side.
Step 3
Starting at the fold, place a few pieces of tape vertically so that the sides stay together evenly. It also helps you to see the depth of tape on each side.
Step 4
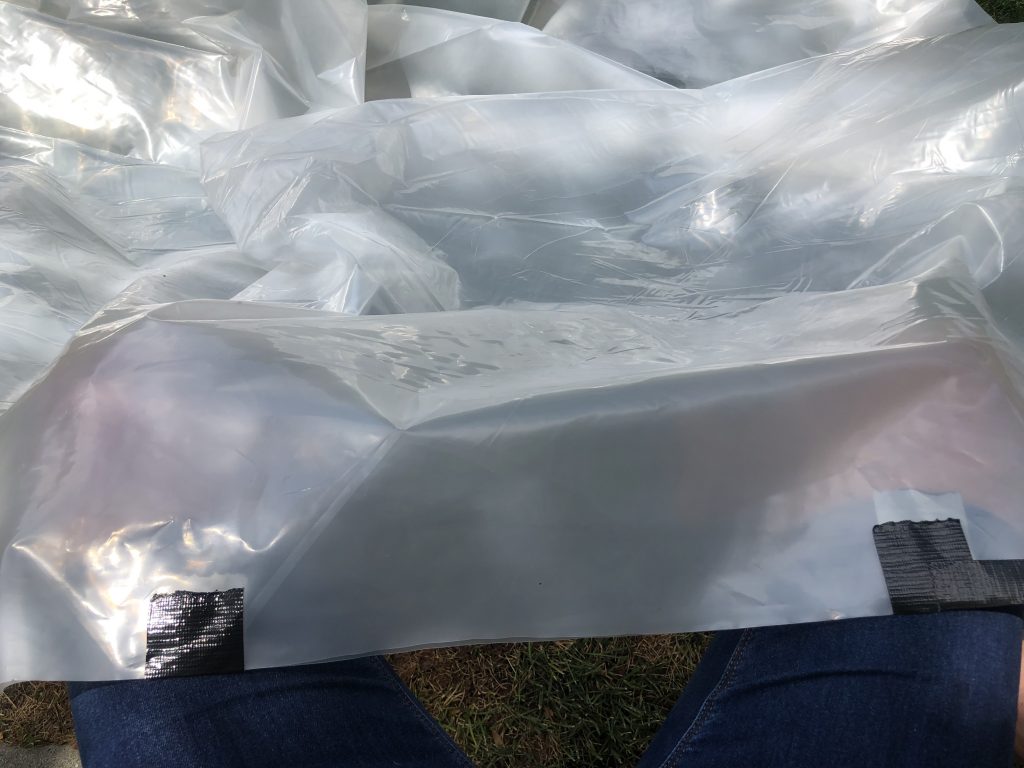
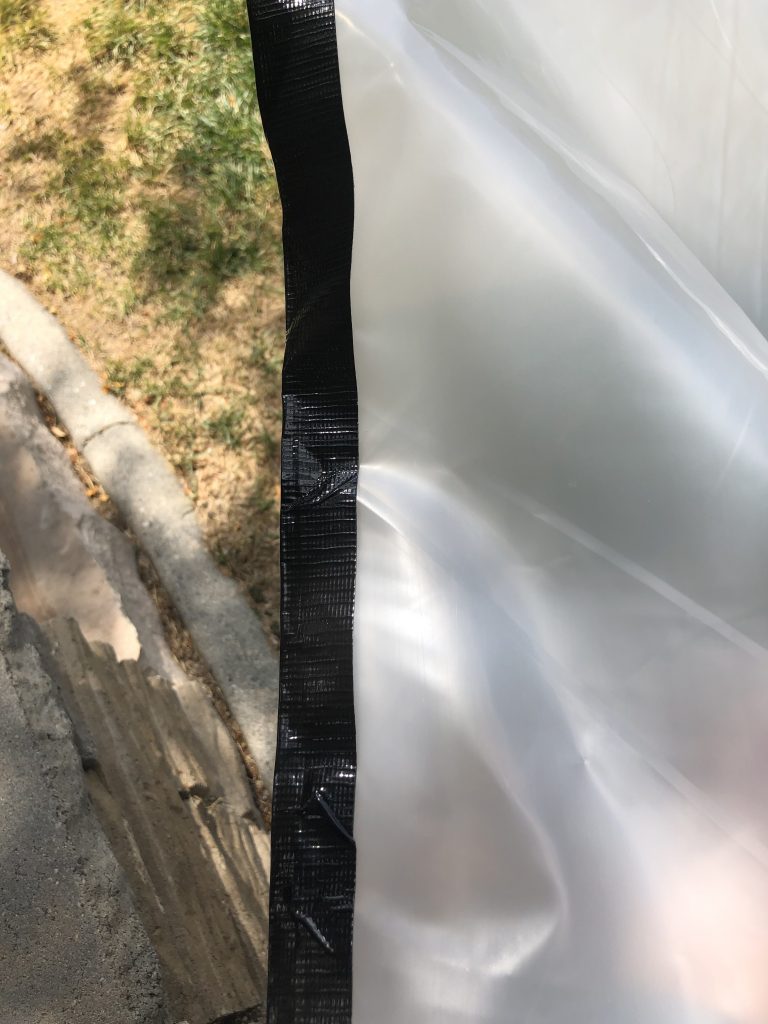
Tape, tape, and tape some more! Continue to tape around the remaining three sides of the painter’s plastic, leaving a space in one corner to insert the hose. Make sure to keep the plastic as straight as possible. You can see in the picture above that there’s a slight wrinkle in the plastic. If left alone, this will definitely leak. So any wrinkles need to be covered up thoroughly with tape. The good news is that duct tape is pretty amazing, so even if you notice a leak after you’ve filled your blob, just plop a good-sized piece of duct tape over and it’ll hold.
If you’d like to put any toys or fun shapes inside your blob, now is the time! You can also put glitter in at this point as well.
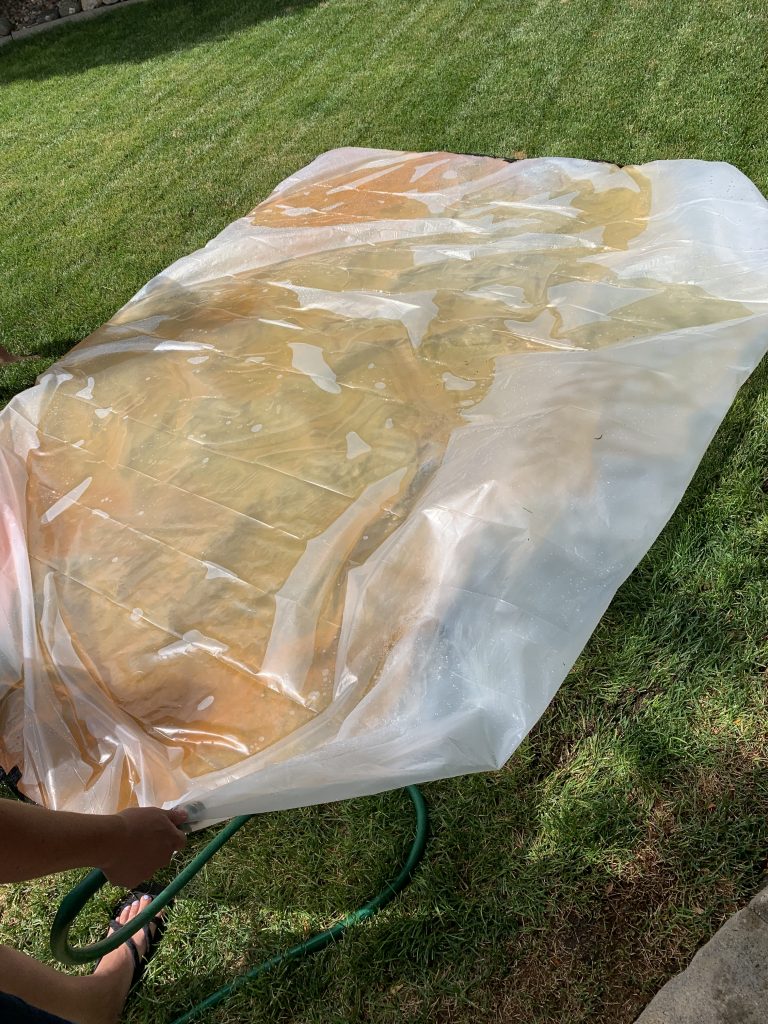
Step 5
When you’ve taped the sides (with the exception of the hole), go ahead and insert your hose. Then fill it up! I really like coloring the water blob for an added bit of fun. This year the girls chose red and yellow, which created a cool sunset of colors. The first year we colored it blue like the ocean. Both years we’ve used food coloring and the sun bleaches it clear within an hour or two, but it’s fun while it lasts!
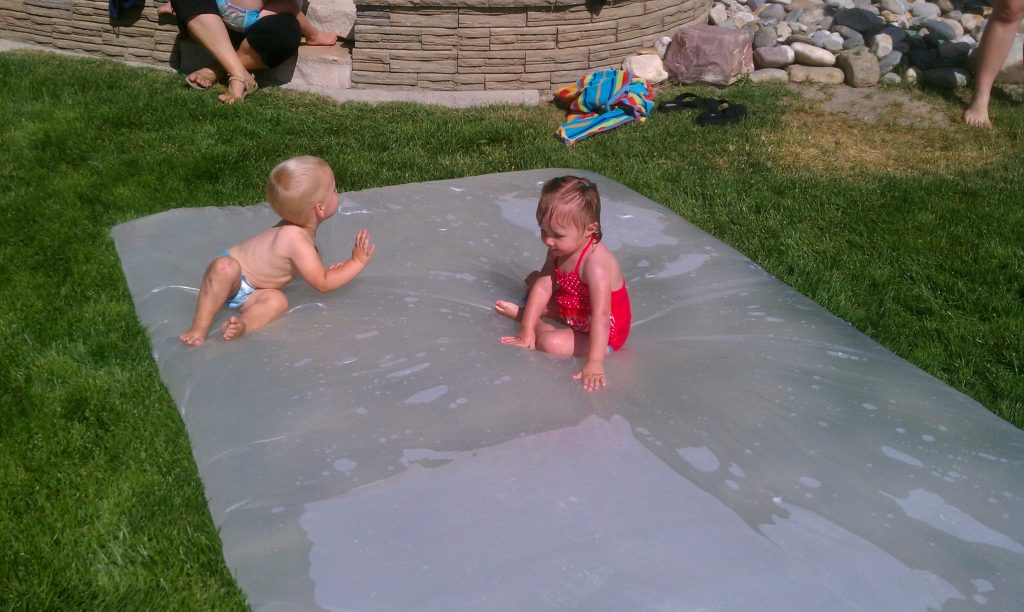
Step 6
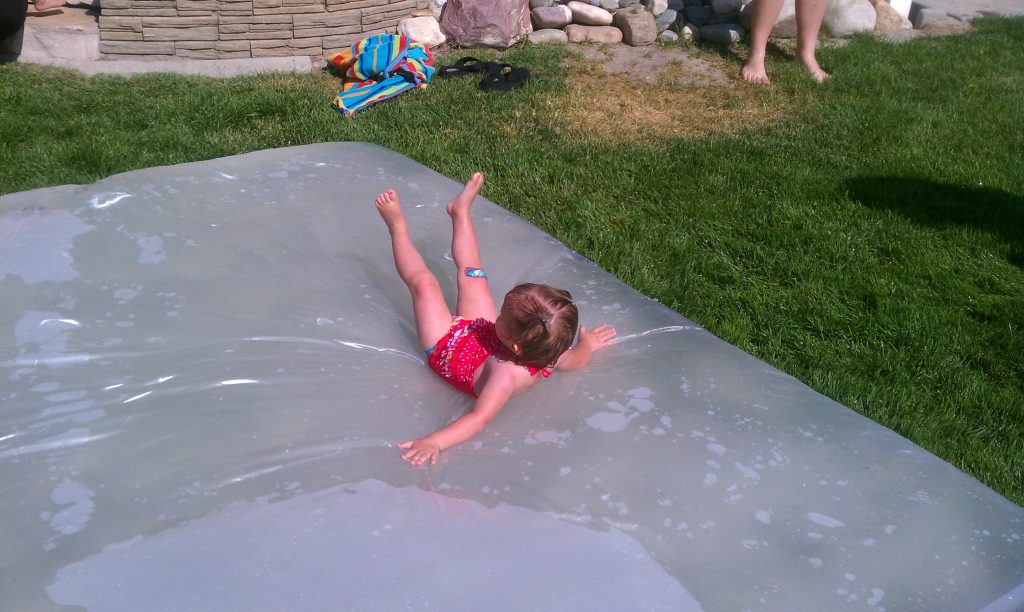
Chill out and relax on your blob! These photos were taken a few hours after filling, so the water was already clear, but the kids didn’t mind. If you get thicker plastic, it’s sturdy enough that kids can bounce and wiggle on it without fear of popping. I don’t know the “weight limit” but we’ve had four or five adults lay on it with no problems at all. It makes the ultimate firework hangout and relaxation station.
So the next time you’re looking for something new to add to your party routine, try making a DIY water blob! I promise you won’t be disappointed.

Leave a Reply