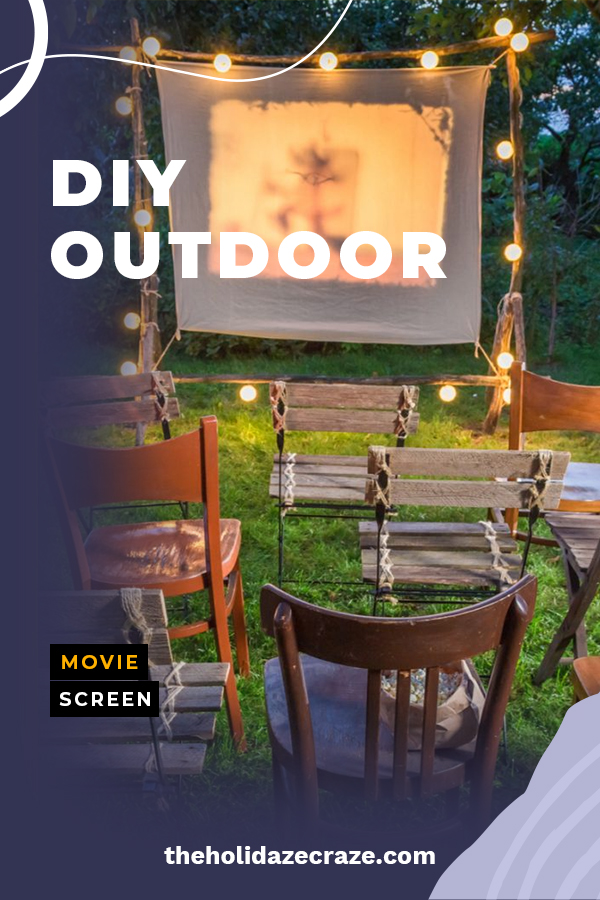
DIY Outdoor Movie Screen
Materials Needed:
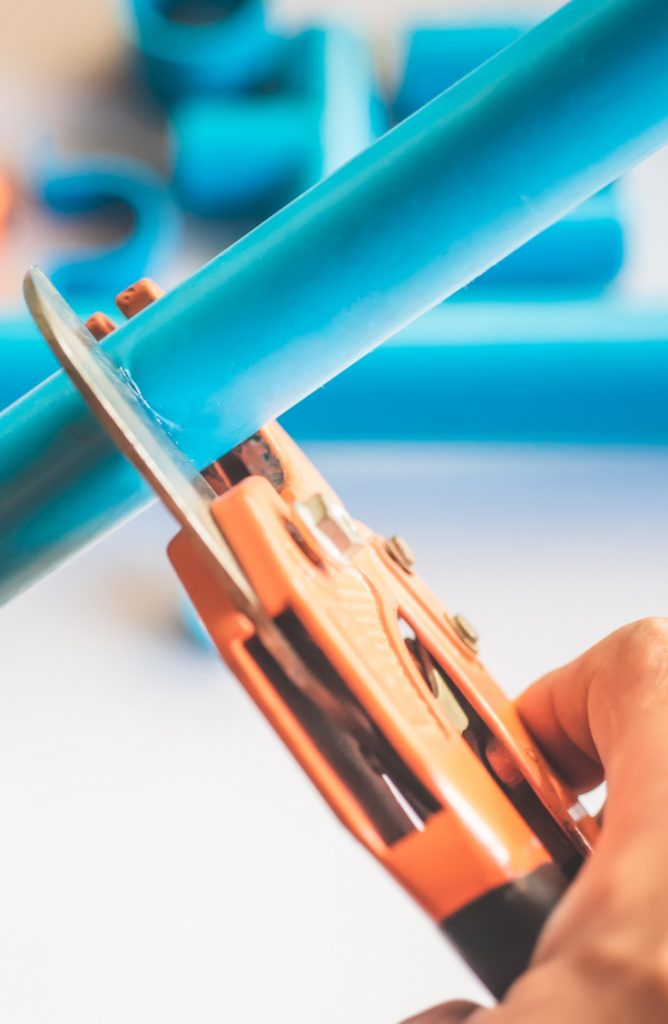
- PVC cutter
- 3-1 1/4″ PVC pipe, 10′ length
- 2-1 1/4″ PVC pipe elbows
- 2-1 1/4″ PVC pipe T-joints
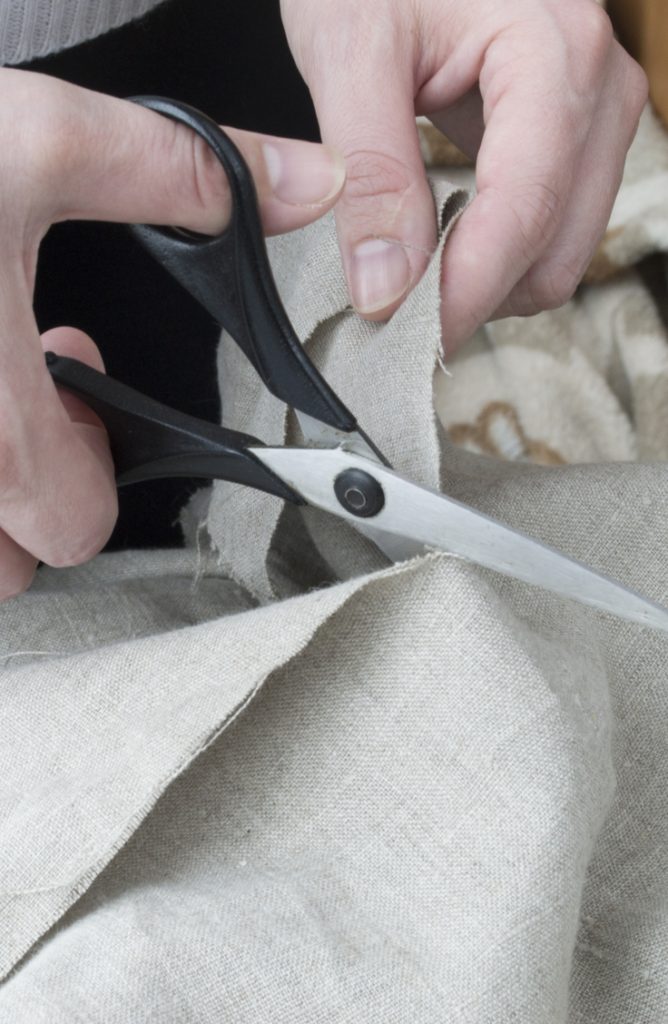
- Scissors
- 6×9′ canvas drop cloth
- Adhesive hook-and-loop tape
- 2 U-channel posts
- Hammer
Step 1

Start by using the PVC cutter to cut two of the 10′ PVC pipes into 7′ and 3′ sections. Then cut the remaining 10′ pipe into two 5′ sections and set aside.
Step 2
Next, assemble your frame by attaching an elbow pipe to both ends of one 7′ PVC pipe piece. Then, attach a 5′ pipe to each elbow. At the end of the 5′ pipe, attach a T-joint. To finish the frame, attach the 7′ pipe to the horizontal part of the T-joint, then both 3′ pieces to the vertical part of the T-joints.
Step 3

Begin by ironing out the wrinkles in your drop cloth. It seems tedious, but it will make your movie viewing experience much better in the long run. Next, use scissors to trim the drop cloth down to a 6×7′ rectangle. With the frame laying on the ground, attach one side of the hook and loop tape down the front of the 7′ pipes (top and bottom). Then lay the canvas drop cloth down on the ground, and place the PVC frame on top. Carefully pull the canvas drop cloth around the top and bottom 7′ pieces so that you can see where to place the other piece of hook and loop tape. Place the tape, and make sure to tighten the screen.
Step 4
To stand up your screen, pound the U-channel posts into the ground, 7 feet apart, using a hammer. Then, with some help, lift the frame up and slide the 3′ pieces of the pipe over the U-posts. Twist as needed to tighten.
Step 5

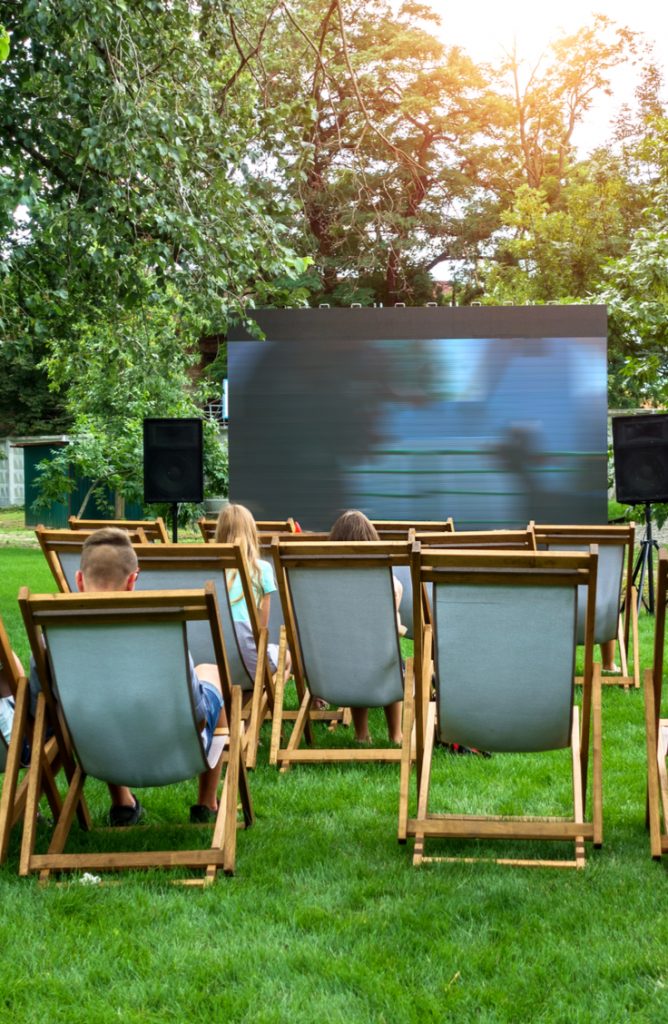
Grab your favorite lawn chairs, a plethora of pillows, one of these awesome air couches, or just a comfy blanket, and set them up in front of your screen. Have plenty of snacks and drinks at the ready, along with a good Bluetooth speaker. Last, pull out your portable projector, and get your movie on!
The next time you’re looking for a way to say a solid farewell to summer, look no further than your own backyard!


Leave a Reply