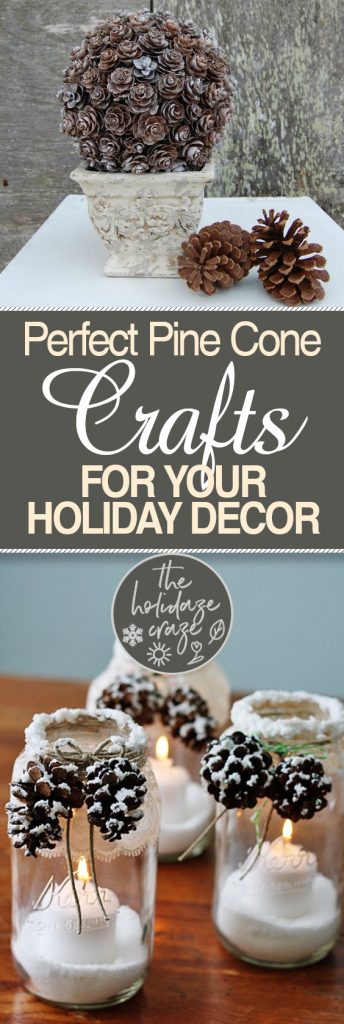
Wait, stop! Stop your kids from throwing those brown seed things at each other!
Yes, the pine cones. I have a better use for them.
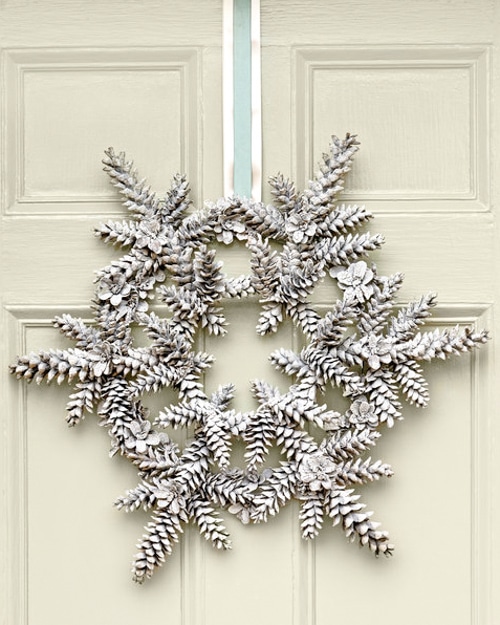
Seriously. Check out this snowflake wreath, for example.
Yes, that is from pine cones. I told you I knew what I was talking about.
This beauty from Southern Living is crafted with a 12-inch wire wreath form, flat wooden paint stirrers, a lot of Gorilla Glue, and artificial snow spray.
Once finished, hang it with some strong, decorative ribbon.
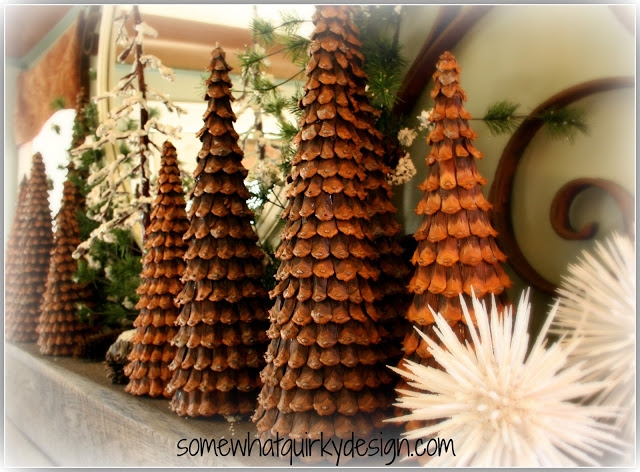
Looking for unique? Look no further than the rest of the ideas on here -oh, and these pine cone Christmas trees.
They are made by hot-gluing the bracts (those individual brown blade thingies) up a paper-wrapped styrofoam tree form.
Yes, that means you’ll have to pull pinecones apart to acquire bracts.
Somewhat Quirky Design says you can also use a papier-mâché tree form, but they only come in one size.
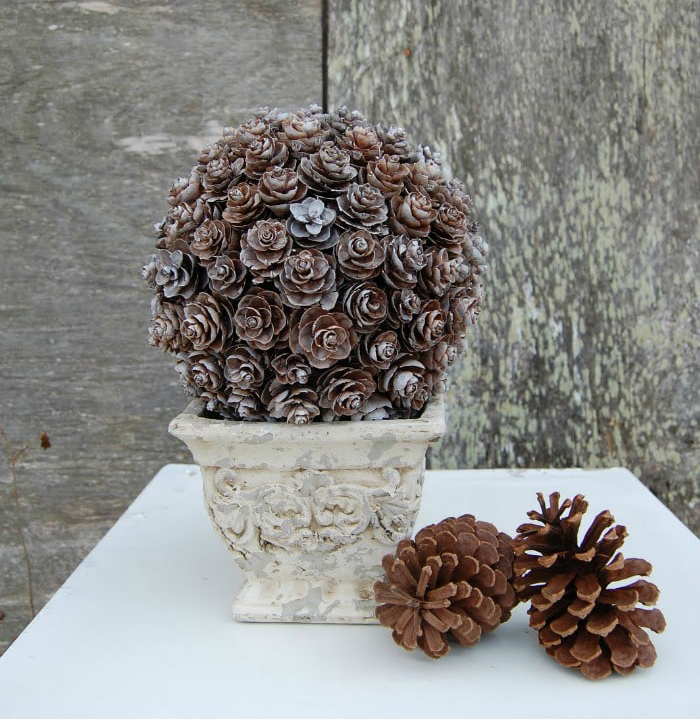
This pine cone topiary was created with styrofoam as well -a 6-inch styrofoam ball.
Wrap the ball in a black garbage bag and tie it off, then glue the end to keep it from unraveling. Create the topiary by twisting tons of pine cones in half and gluing those upper halves all over the encased ball.
Finish by lightly spraying with white spray paint and stuffing it gently into a decorative planter. Voilà!
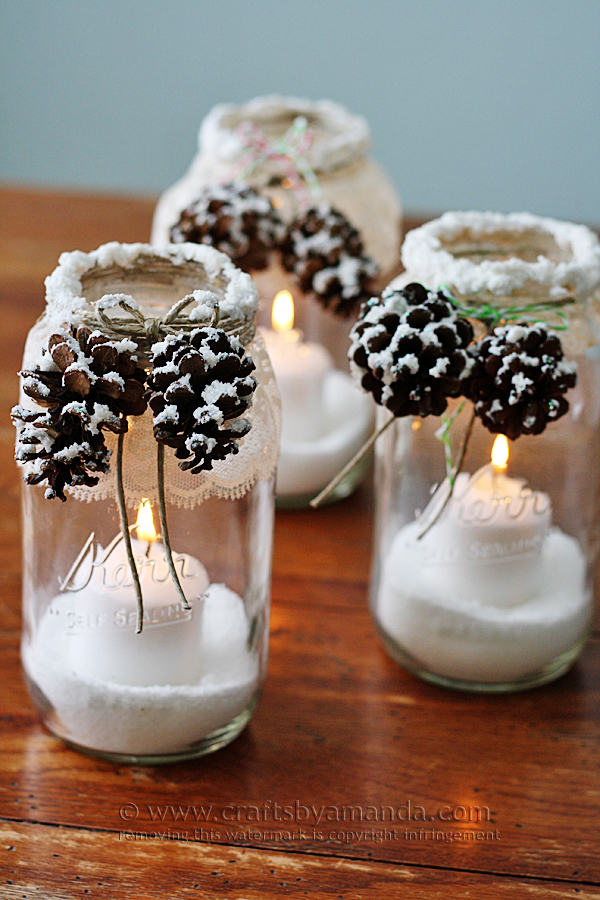
These luminaries are a tad simpler than what we’ve looked at so far, and I love the snow accents with the flickering light.
As you can see, they are made with re-purposed glass jars. The accents are lace, twine, and the pine cones; and are adhered with my buddy, hot glue.
The candles inside rest on epsom salt, and the tops of the jars and the cones have been brushed with snow texture paint.
Ran out of mason jars to craft with! Click this link for a special offer on Ball Mason Jars! Shop Ball and Kerr products at FreshPreserving.com![]()
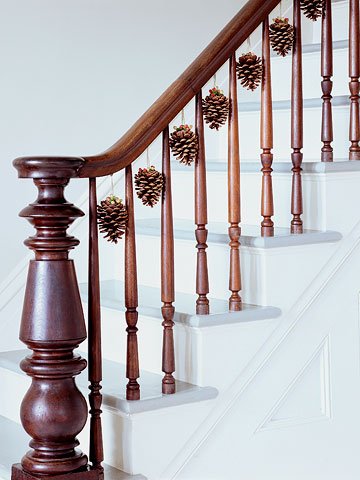
I’ll bet, like me, that you didn’t know pine cones could be a banister decoration.
I’m not talking garland, either. I’m talking this simple hanging idea from Family Circle.
The magic is in thumbtacks for the cones and artist’s tape beneath the railing.
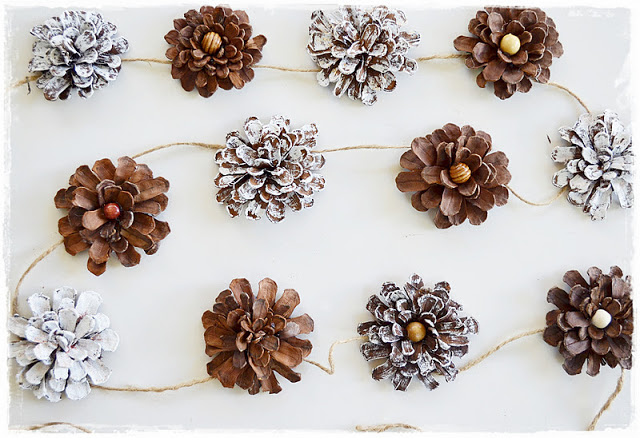
Speaking of garlands, how about the radical idea of making one of only pine cones?
We’re pretty much experts on crafting with them now, so we’re totally cool with taking apart the cones and gluing the bracts on felt circles in the flower pattern you see pictured.
Or, I’m in favor of ignoring Two Shades of Pink‘s instructions and trying that twisting the cone in half thing we learned.
Either or, make sure you hot glue things up, alternating white-paint-sprayed “flowers” with regular ones.
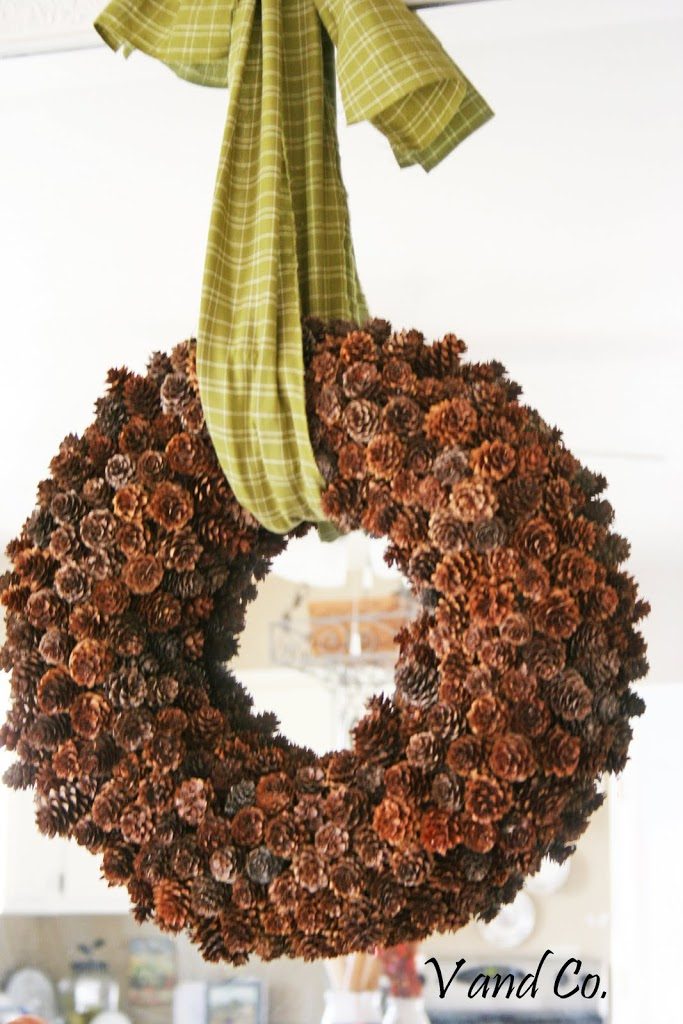
Maybe you wanted a wreath, but found that snowflake one a tad involved.
May I present, for your consideration, a standard, all-pine cone door hanging?
I’m not saying it’s less work, because you’ll literally be gluing cones around a styrofoam wreath. It’s all the same sort of work, though, so not too tricky.
Trust Women’s Day to come up with something fancy, even when we’re talking about yard refuse.
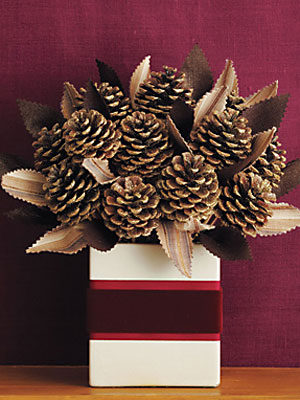
This beautiful pine cone bouquet is a bit more complicated than it appears, but just enough so that all your neighbors won’t be able to easily make one.
The base is a square vase with ribbon stuck around it, and the leaves and cones are stuffed into it thanks to an interior styrofoam square.
They’ve opted to drill a small hole in the base of each pine cone for holding the dowel, plus spraying each with adhesive and gold glitter. That’s to match those fabric leaves, made by bonding two colors of fabric together.
Now, let’s go back to my standard, preferred method of throwing things together.
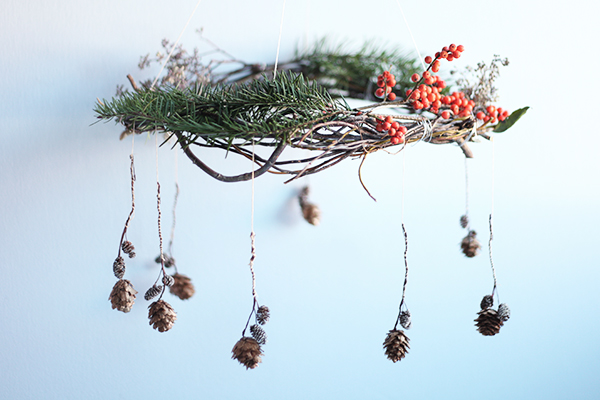
Well… more like tying things together, as in the case of this hanging wreath chandelier thing.
It’s a willow branch wreath with berry and pine bough accents. The pine cone part are those cute, little ones dangling decoratively from around the circle.
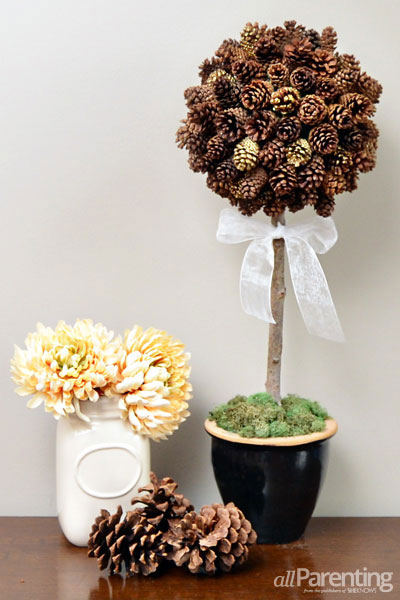
Yeah, yeah -I know we did a topiary already.
If you recall, however, that last one was stuffed in a vase all lazy-like. This one is a full-on tree.
And how do we make it a tree instead of a bush? Well, with a sturdy stick, obviously. You’re probably going to need a sturdy base, too, so grab a thick styrofoam cube for that bottom pot. Cover it all over with moss like the picture and you’re set.


Leave a Reply