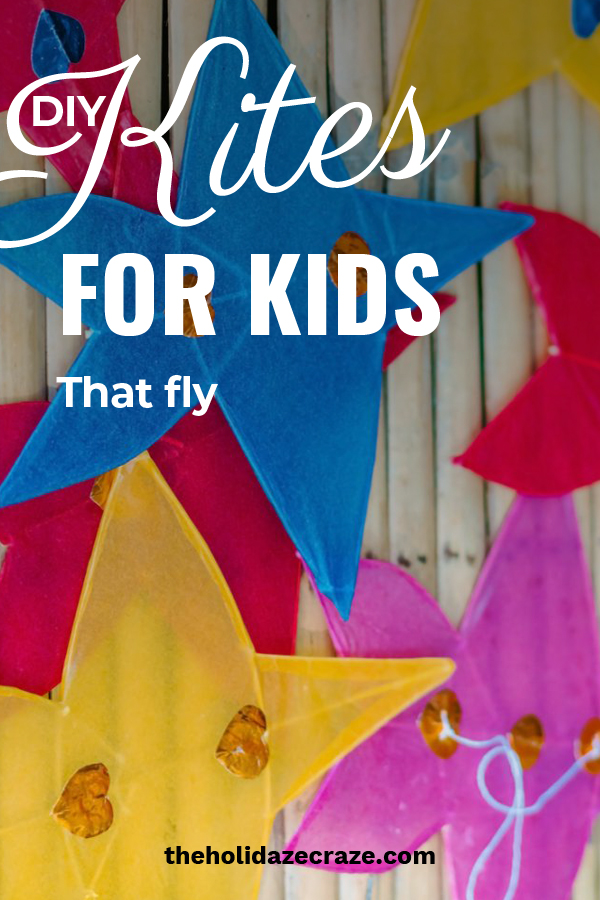
As the weather starts to warm up, it’s time to begin thinking about outdoor activities. One of my little’s favorite activities is flying kites! I’ll be honest, it’s not my favorite thing to do. I feel like the weather is too windy, or not windy enough. However, I really do love watching my kids having the times of their lives running around and trying to keep their kites up. In fact, the Easter Bunny always brings kites so they can fly them as the weather warms up. See how you can change it up this year and make DIY kites for kids.

I’ve decided that this year my littles will be getting the materials to make their own kites! I figure this will double the fun. If you’re looking for a way to add a new twist on a tradition, or just a tech-free way to while away an afternoon, making DIY kites with your kids is a great solution!

DIY How to Make Kites That Fly

DIY Kites: Materials
- clear contact paper
- Wooden dowels (like these), 1 uncut, 1 cut to 24″
- String
- Hot Glue and Gun
- craft knife, scissors
DIY Kites: Process
Begin by measuring and cutting your wooden dowels if necessary. Then, using a craft knife, carefully cut some horizontal notches into the dowels about 1/2″ from each end. This is to help the string stay in place. If desired, you can cut two notches where the dowels will cross. This should be exactly halfway through the 24″ piece and about 3/4 through the 36″ piece.

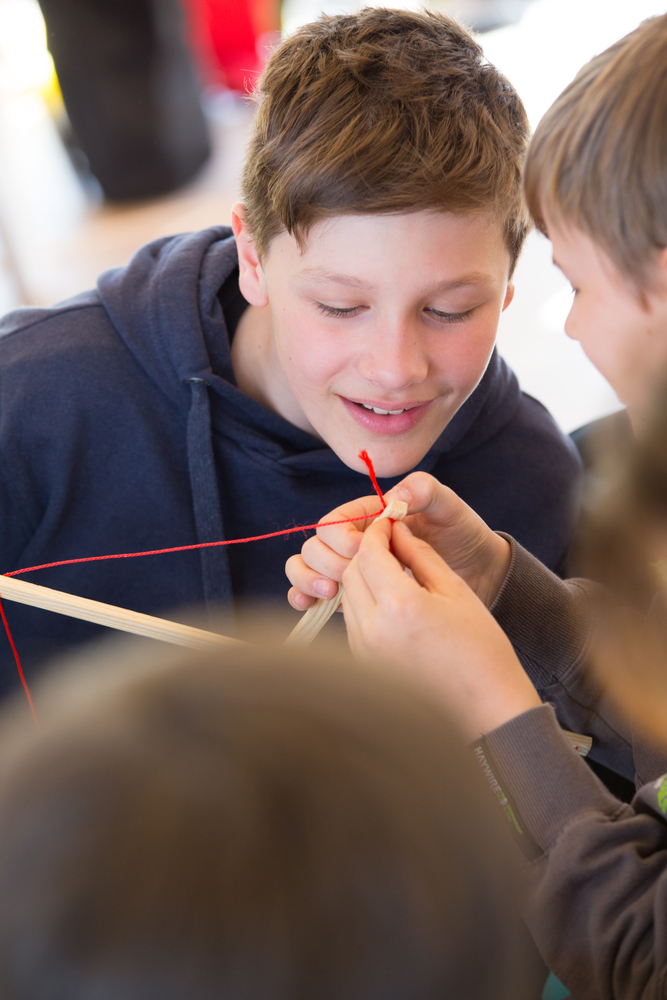
Next, using a length of string, tie the two dowels together in a cross shape. Use an alternating “x” shape with a “=” shape to help the string stay in place. Secure with hot glue on both sides, this should help the kite be more stable.
Once the cross-shape is stable, it’s time to create the outside diamond shape. Do this by tying a long length of string to the bottom of the cross and then wrapping and tieing the string around each end. Place dabs of hot glue to secure the string.
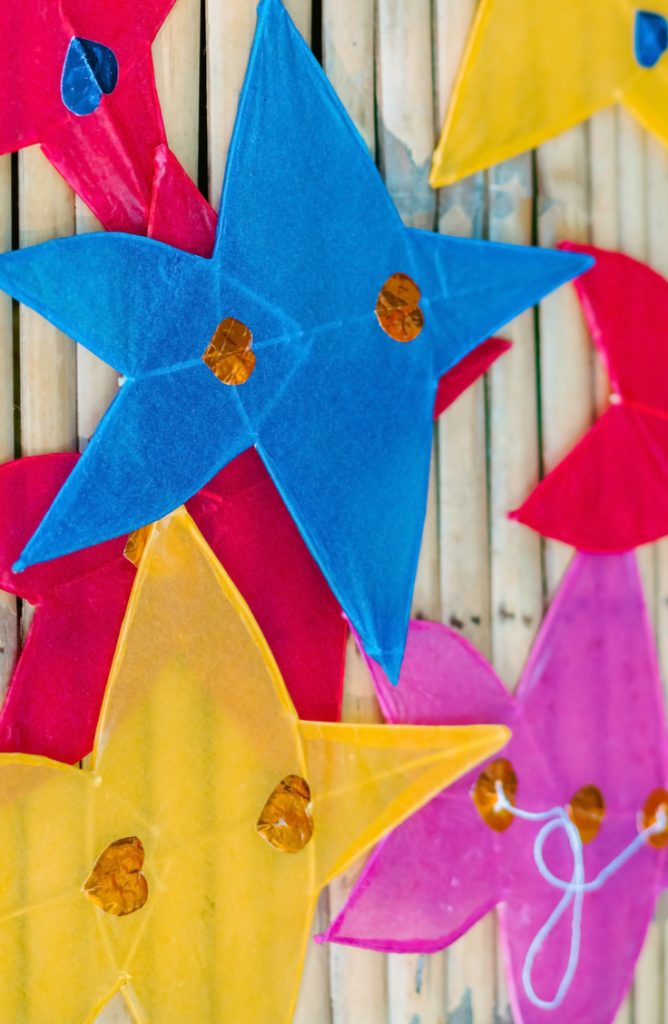
Next, lay the contact paper on a flat surface and place your kite on top. Trace around the string so that you have your shape. Trace this shape twice. Then pull the sticky side apart from one piece and place the frame on top. Feel free to decorate here by using sequins, tissue paper, drawings, etc. When you have your kite designed, repeat the process with the contact paper, placing the sticky side onto the sticky side.
Last, using the scissors, cut a small hole in where the dowels meet and secure a length of string to the dowels. Measure about 6″ down further on the kite and repeat the process with the end of the string. This will create a half loop. From here, tie your string to the middle and ta-da! You’re done!
DIY Kites For Kids That Fly: Design

If you want to experiment with different shapes, go for it! The diamond is a traditional shape for most kites, but you can find patterns for all kinds of shapes. You can also switch up the materials. From newspaper to tissue paper, the possibilities are almost endless! What matters is that you have a stable shape with a decent amount of surface area and a material that isn’t going to allow too much air through it. Having a triangle-like shape at the top of the kite will help it be more aerodynamic to get it in the air quicker. You could also experiment with adding different lengths or types of tails on your kite for balance.
So let me know in the comments section, what did your kites look like? Happy Crafting!


Leave a Reply