
Guests arriving at your place will be wowed by your porch setup, your cute door, and your autumnal wreath you’ve made.
What’s that? You don’t have a wreath?
Well, that won’t be a problem for long. Follow along for fancy fall designs fit for any budget.
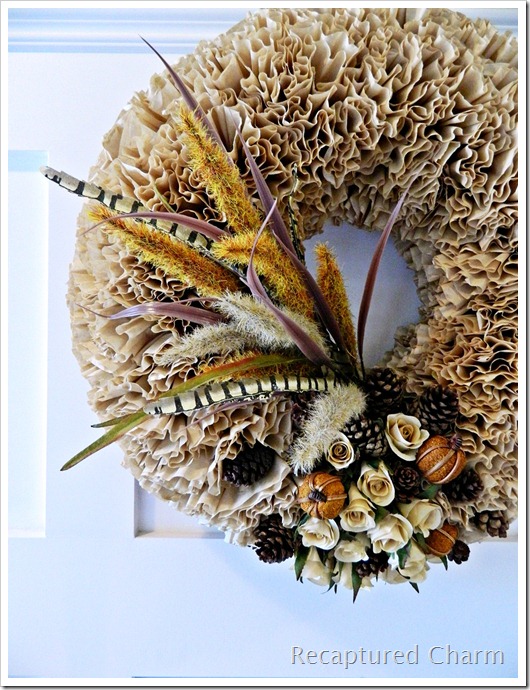
For starters, If you love the look of this idea from Recaptured Charm, you might be surprised to learn it was made from coffee filters.
Using a foam wreath, about 200 unbleached filters, and whatever fall décor you can scrounge up for cheap, you can whip this baby up in a couple of hours.
Most of the work is twisting and, my favorite, hot-gluing.
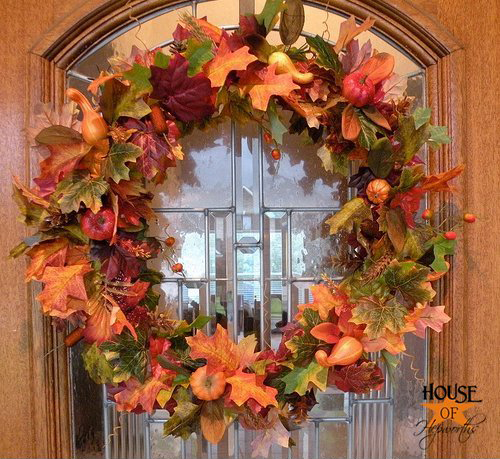
It may come as no surprise to you that House of Hepworth‘s wreath also involves the ol’ glue gun.
Start with a wicker wreath, then strip the fake foliage off whatever stems they arrived on.
Finally, glue that crap all around until your wreath is all filled in.
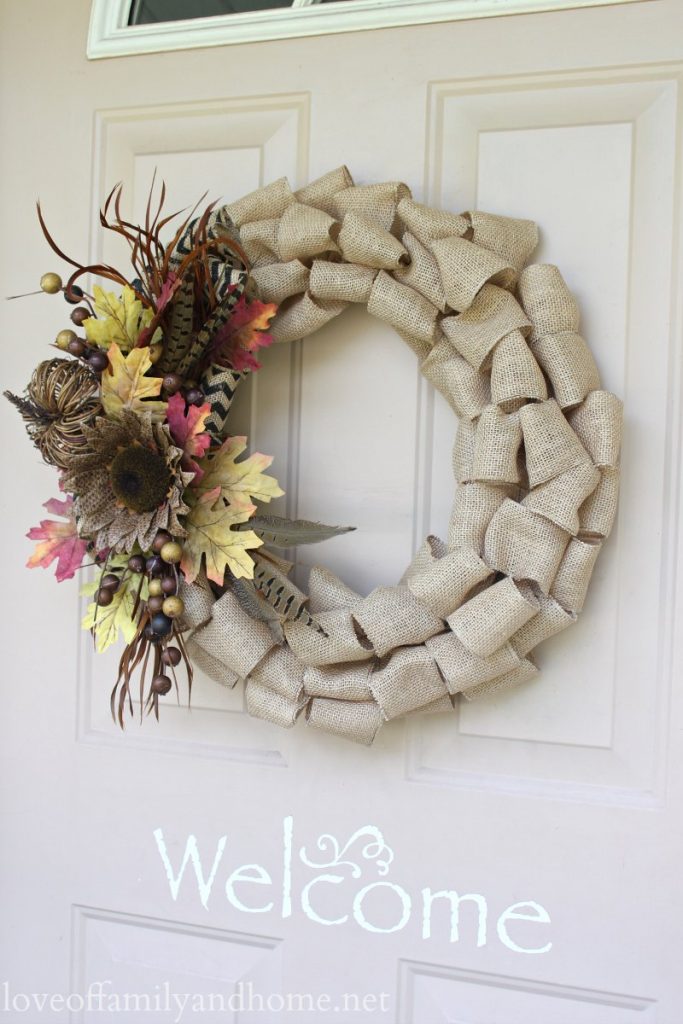
I have always wanted to make a burlap wreath, and now I know how!
The magic is in your starting frame: a green wire wreath form.
Next, you’ll need a lot of time for creating all of those loops with burlap ribbon. Start by securing the ribbon with pipe cleaner. End with gluing the accents onto your finished wreath.
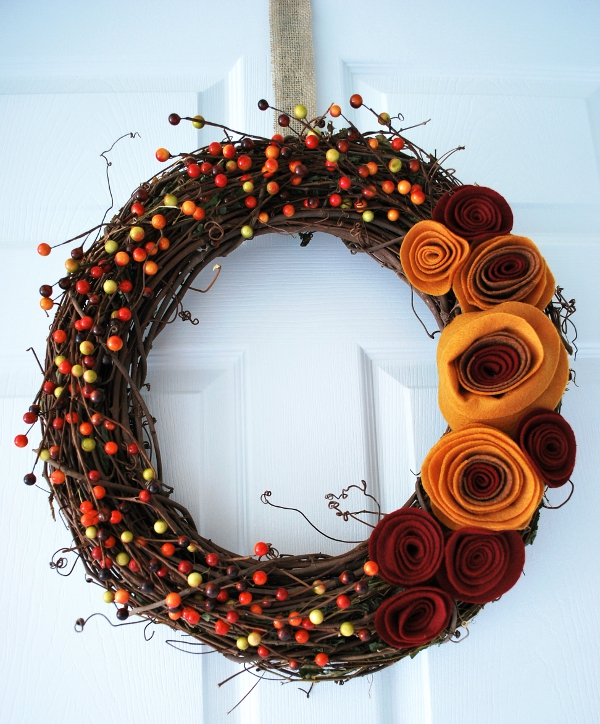
Crafting Mom created this rosette wreath for under $10!
Starting with a grapevine wreath, she glued berries over most of it and added homemade felt rosettes.
This is so easy, I could do it.
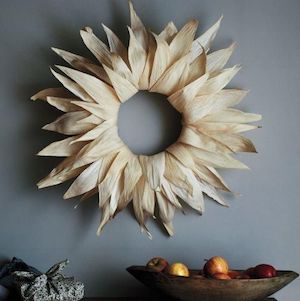
This corn husk idea starts with a straw wreath.
After dunking the corn husks into water and blotting a tad, simply attach the undersides with T pins and wrap around the form. Keep going until you have one layer.
For multiple, radiating husks, attach them with a glue gun.
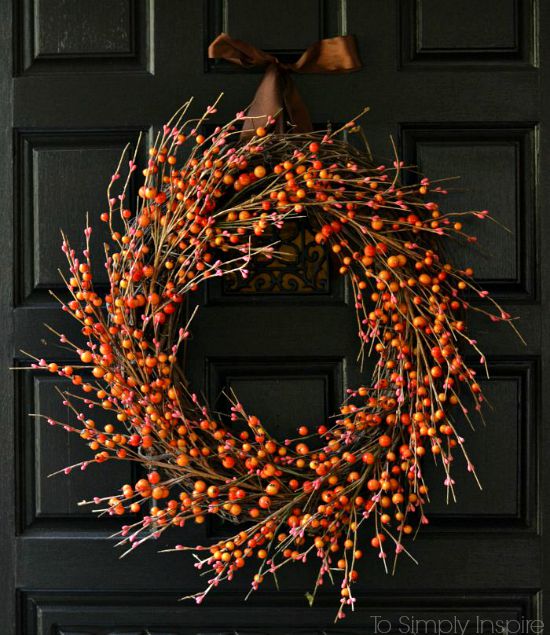
Despite what you might think, this idea from To Simply Inspire is the second-easiest one on here.
Using a 14-inch grapevine wreath and 8 fake berry sprigs, their decoration was done in fewer than 15 minutes!
I can’t even make dinner in that time, but now I can have my door decorated.
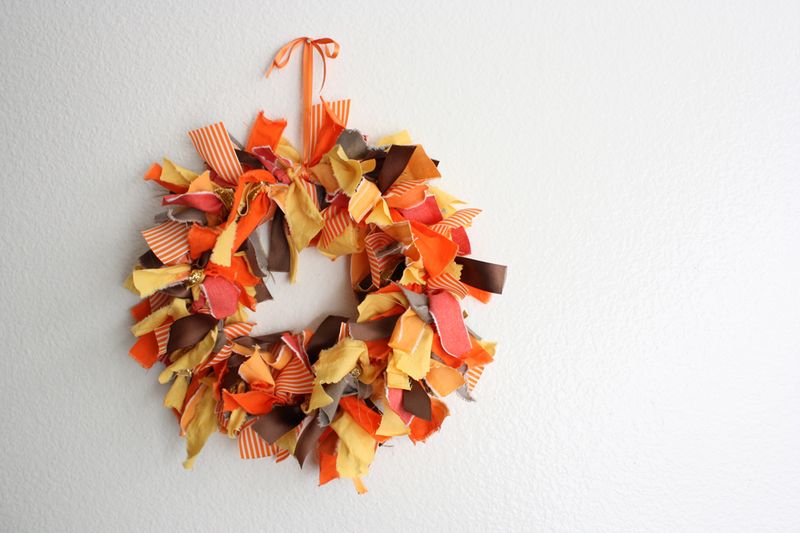
Meanwhile, A Beautiful Mess has given us our first completely DIY wreath.
Do you or your parents have a wire hanger? Twist it into a loop, then tie scraps of fabric all over it. Move them close together, so no one can see the wire (they’ll never know!).
Finish up with a ribbon to hang it, wherever!
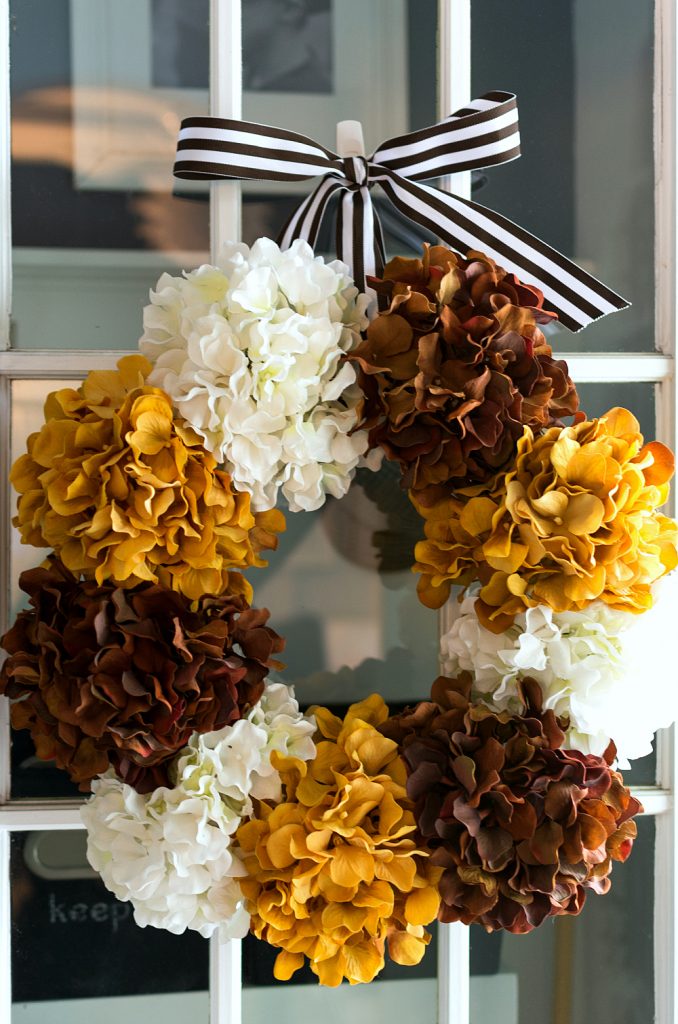
For this hydrangea wreath, follow the same steps we took to create the berry sprigs one.
That is, buy fake hydrangea flowers, cut their stems short, then shove them into a grapevine wreath.
It’s quick, easy, and you can use the wreath again with different-colored fake foliage for the next season.
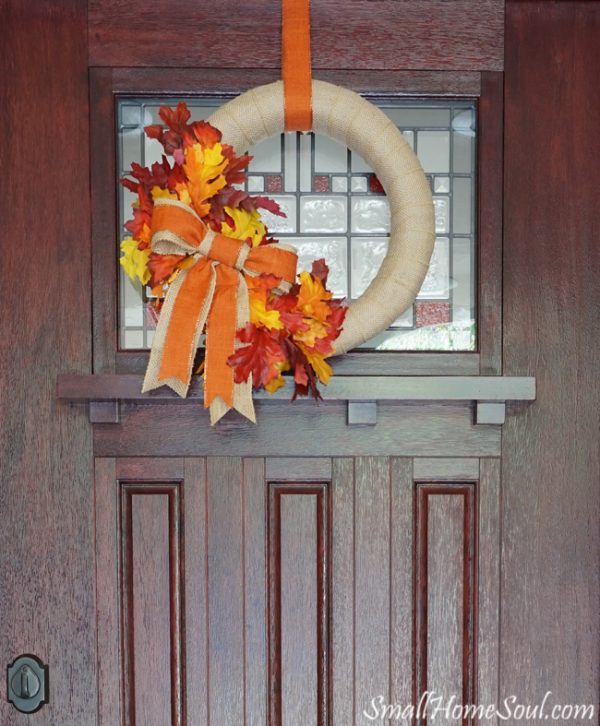
Here is another idea with burlap and a straw wreath.
Using hot glue and pins, secure the start of the burlap ribbon to the straw. Wrap around the form at an angle, then secure the end.
Use whatever flowers or leaves you want to glue as accents. If you want the same look as Today’s Creative Life, lay the leaves opposite directions from each other around that bow.
The bow is orange ribbon tied with more burlap, cutely glued in place.
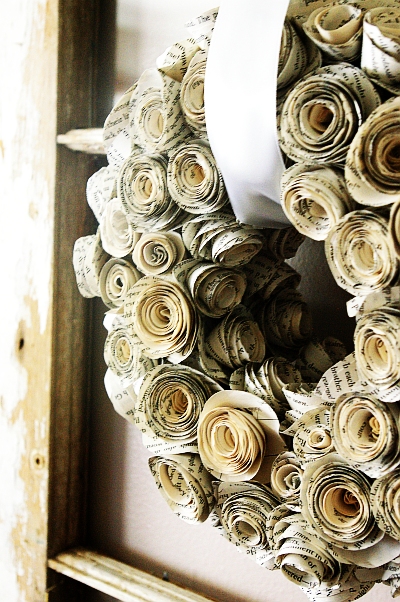
Brassy Apple got her design for a rolled book page wreath from another site, but I liked the varying sizes of her “roses” better than the original.
She says it took a ton of hot glue and about 394 pages!
The rolls are created the same way as those felt rosettes we looked at earlier, then glued all over a foam wreath.
This may take me longer than finishing a novel, but I will do it someday!


Leave a Reply